1. Prepare Your Event Details
Gather the essentials: event name, date, time, location, speaker info (names, titles, headshots), session details, and sponsor logos. A simple spreadsheet works great for organizing this.
| Field | Example |
|---|---|
| Event Name | Product Summit 2025 |
| Date & Time | March 15, 2025 at 9:00 AM PST |
| Location | Virtual (Zoom) |
| Speaker | Jane Smith, CEO at Acme |
| Session | Keynote: The Future of AI |
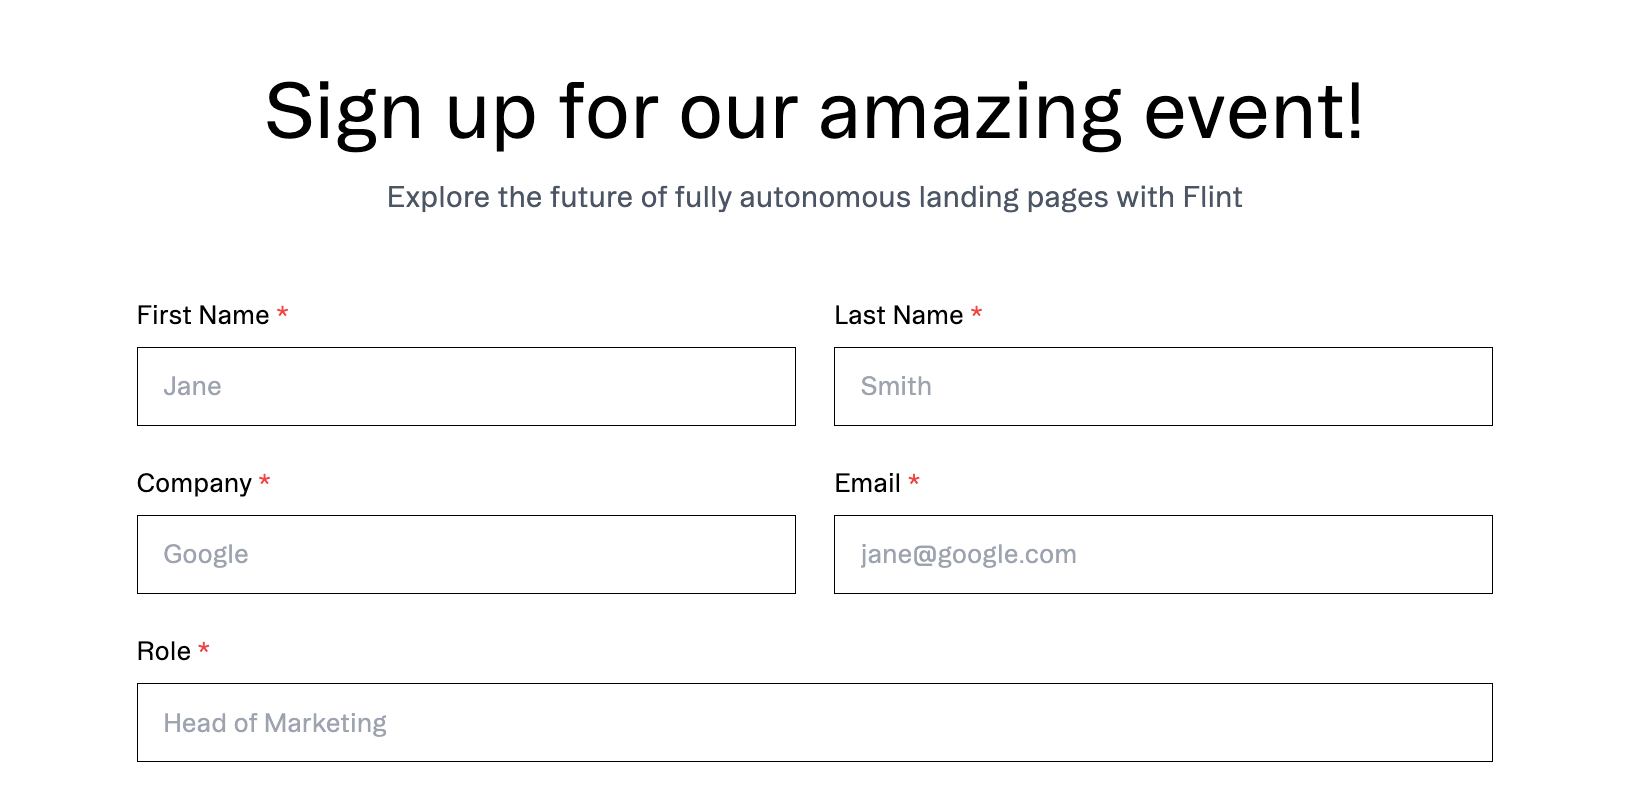
2. Generate Your Event Page
Prompt Flint to build your registration page:
Create an event registration page for [Event Name] on [Date].
Include: hero with countdown timer, 3 key benefits, featured speakers section, agenda overview, testimonials, and a sticky registration CTA.
Flint handles the layout, responsive design, and on-brand styling automatically.
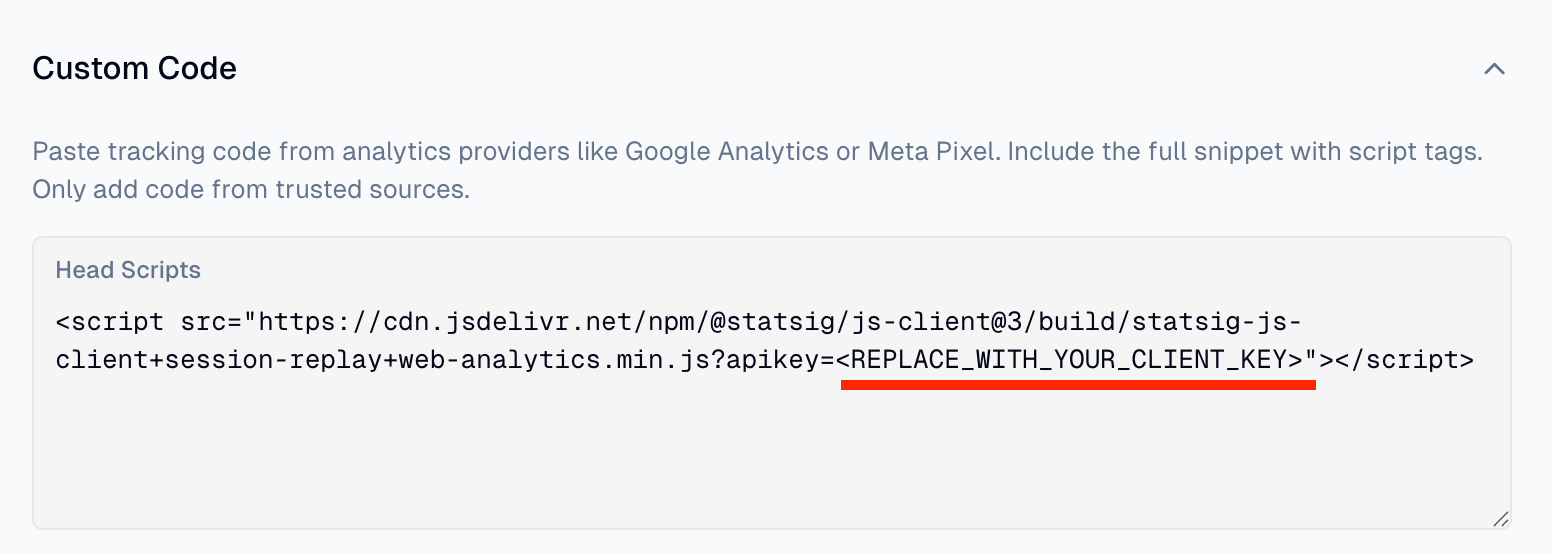
3. Connect Your Registration Form
Embed your existing form from HubSpot, Marketo, Pardot, or Eventbrite via Site Settings → Custom Code. Flint can also create native forms with webhook integrations.
For tracking registrations, add your Google Analytics or GTM scripts in the same settings panel. See the Analytics guide for details.
4. Convert to Post-Event Hub
After the event, ask Flint to convert the page: swap the hero to "Watch On-Demand," replace the registration form with an email gate, and add video embeds for session recordings.
Optional: Create a Thank You Page
After registration, redirect attendees to a confirmation page. Ask Flint to create one with calendar add links, social sharing buttons, and a preview of what to expect at the event.
Optional: Create Channel Variants
For different promotion channels, duplicate and customize:
- •Email — Simplified for subscribers
- •Paid social — Minimal nav, single CTA
- •Partner — Co-branded with partner logo
Use UTM parameters to track registrations by source.